🧱 Materials Needed:
- Wood planks (for shelves): Choose reclaimed wood, pine, or cedar for a rustic look
- 2×2 or 2×4 lumber (for supports/brackets)
- Wood screws
- Wall anchors (if not drilling into studs)
- Wood stain (dark walnut, aged oak, or similar rustic tones)
- Matte clear coat (optional, for protection)
- Sandpaper (medium and fine grit)
- L-brackets or pipe brackets (optional for an industrial rustic style)

🛠 Tools Required:
- Drill
- Saw (circular saw or handsaw)
- Stud finder
- Level
- Measuring tape
- Paintbrush or cloth (for staining)
- Safety gear (gloves, goggles, mask)
📏 Planning & Measuring:
- Measure your closet space – width, depth, and height.
- Decide how many shelves you want:
- Common: 3–5 shelves with 12–16 inches vertical spacing.
- Choose your shelf depth (10–16 inches works well for clothes and bins).
- Mark the wall where each shelf will go using a level.
🔨 Step-by-Step Instructions:
Step 1: Cut and Prepare Wood
- Cut shelves and supports to size.
- Lightly sand each board, leaving some imperfections for that rustic feel.
- Optional: Rough up the edges with a hammer or chisel for an aged look.
Step 2: Stain the Wood
- Apply wood stain with a cloth or brush and wipe off excess.
- Let it dry fully (usually 12–24 hours).
- Apply a matte clear coat if desired for durability.
Step 3: Install Shelf Supports
- Use a stud finder to locate studs in the wall.
- Attach horizontal supports (2x2s or brackets) at your marked shelf heights.
- Secure with wood screws into studs, or use wall anchors if needed.
Step 4: Mount the Shelves
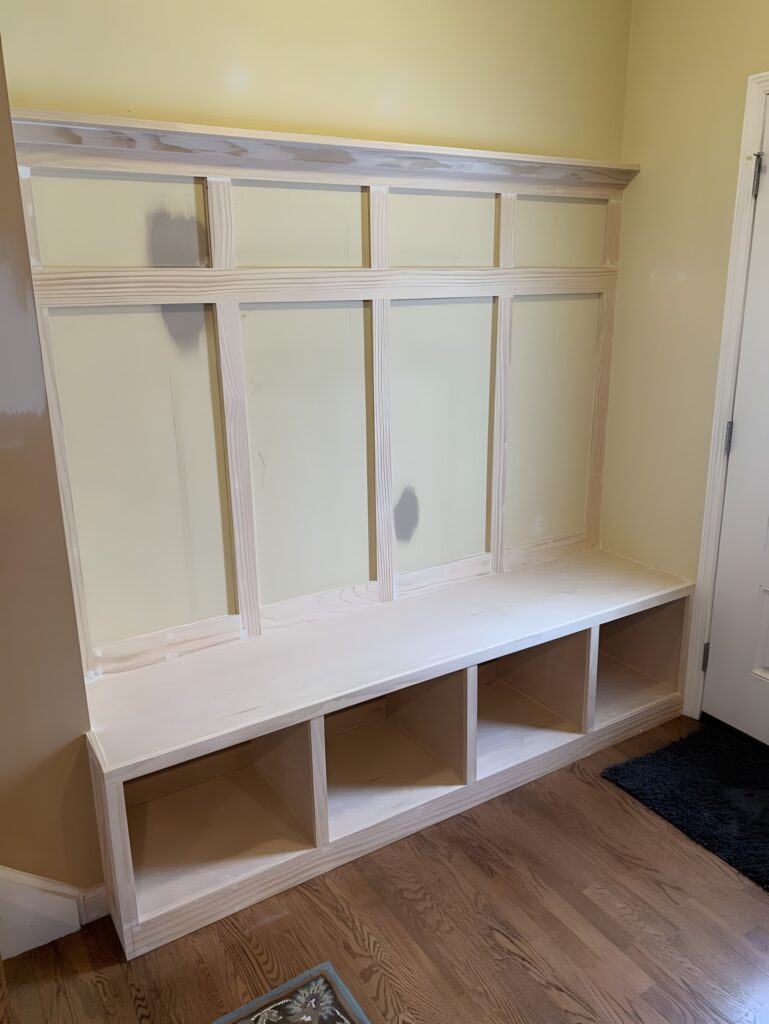
- Lay the stained boards onto the supports.
- Screw down through the shelf into the supports from the top or use hidden L-brackets from underneath.
- Check everything is level before securing all screws.
🪵 Rustic Touch Ideas:
- Use live-edge wood for the shelves.
- Add black iron pipe brackets for an industrial rustic look.
- Leave knots, cracks, and markings visible in the wood.
- Distress the wood with a chain, hammer, or screwdriver before staining.
✅ Optional Add-ons:
- Closet rod underneath the bottom shelf for hanging clothes.
- Hooks or baskets for accessories.
- Sliding barn door to cover the closet with style.
- Label tags or chalkboard paint on shelf fronts.
📌 Tips for Success:
- Always measure twice before cutting.
- Pre-drill holes to prevent splitting wood.
- Use high-quality screws or anchors for safety.
- Keep airflow in mind if storing clothes or fabrics.


